Sweet Peas – Sweet Climbing Jewels
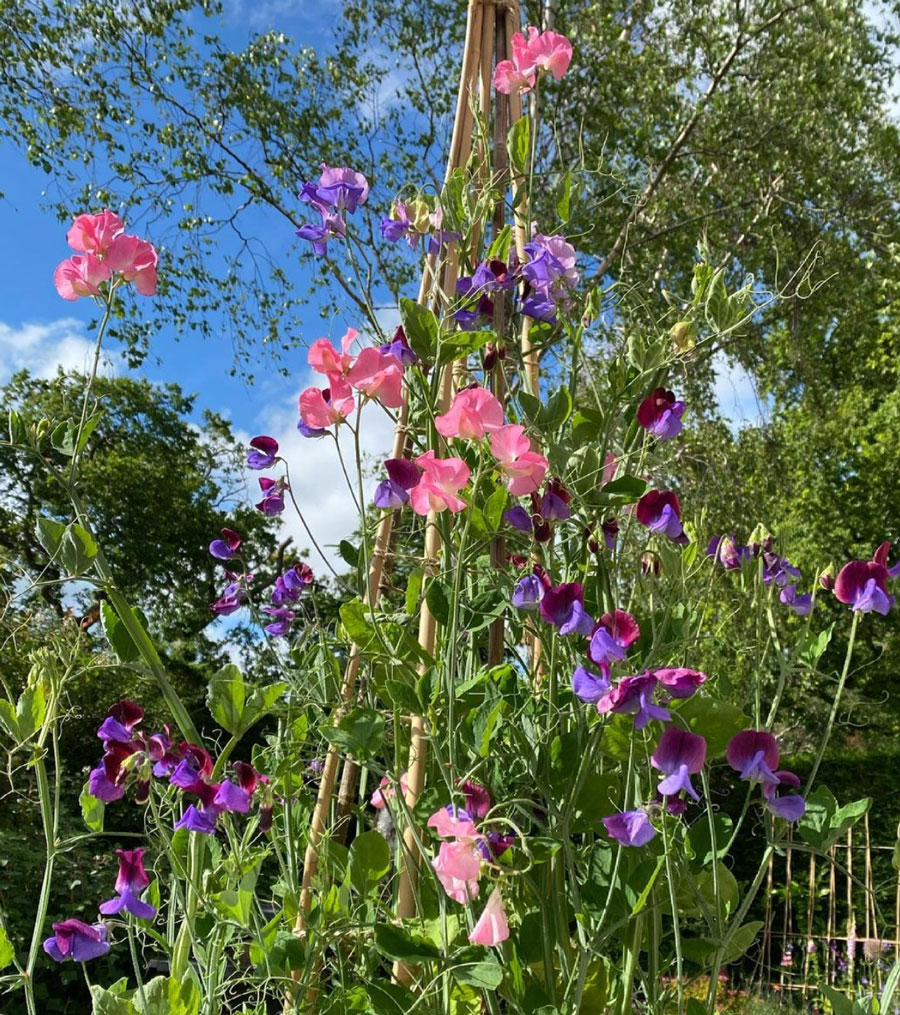
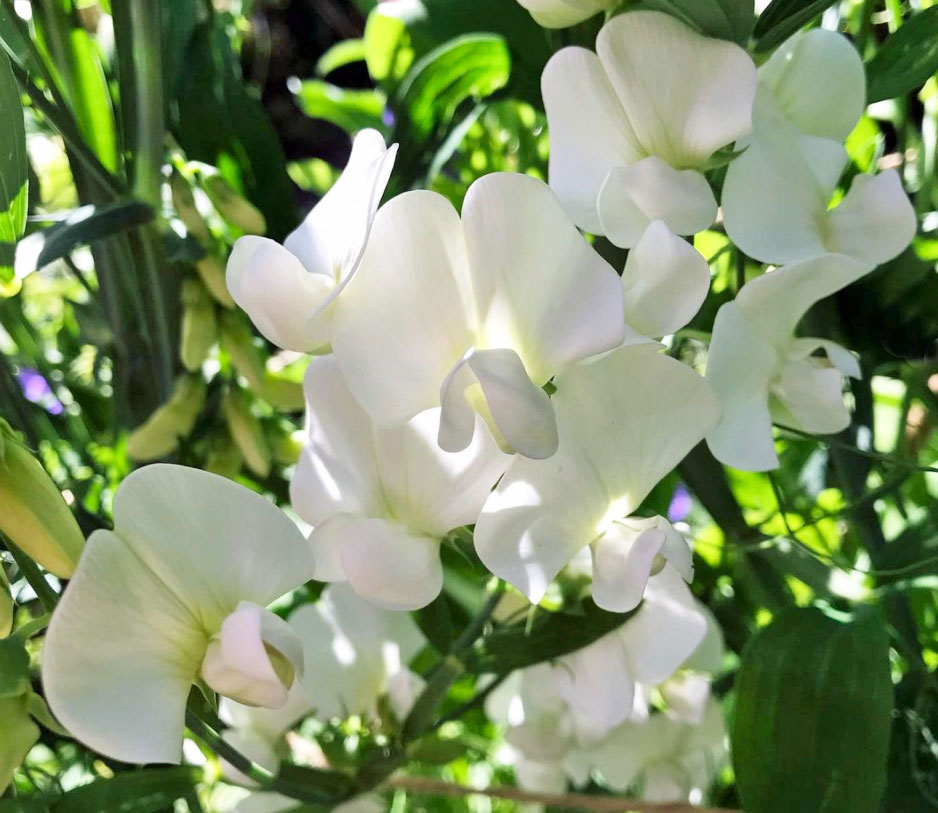
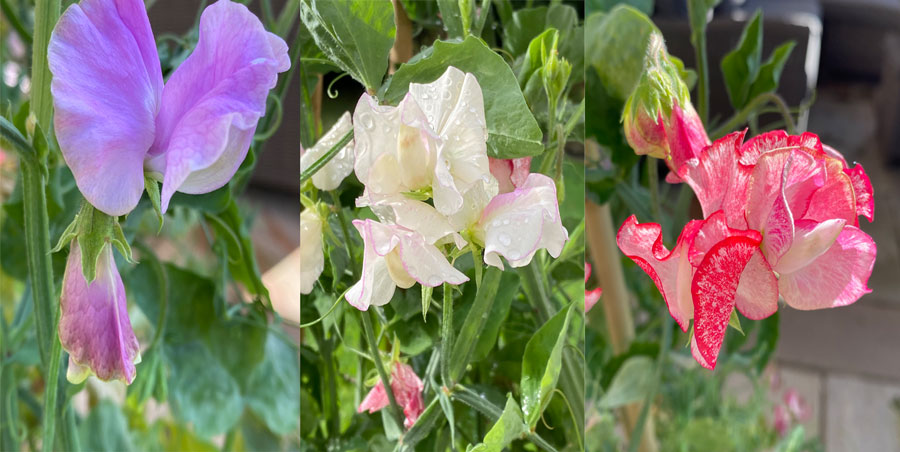
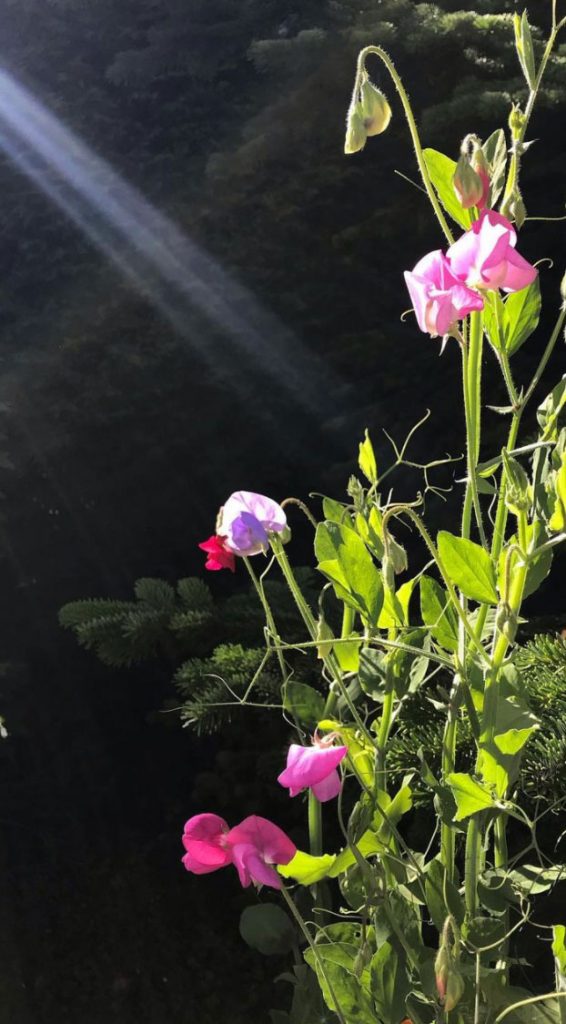 If there is one flower, in a delightful multitude of stunning colours, that rises above the rest it has to be the sweet pea.
Not only magical to look at but fascinating to watch as it grows. Sweet peas fill a space quickly and erupt in a blaze of just about every colour you can think of.
Sweet peas are ideal for picking and make fantastic floral displays as a group or just as a single or small bunch to brighten up your home.
This versatile plant can be grown from seed straight into the ground and trained up trellises and canes or in pots. Many varieties are ideal for pot planting on patios, creating a glorious scent.
Growing your own sweet peas
When grown from seed sweet peas can be planted in autumn or spring.
I had my best results from early spring plantings. I tried sewing in autumn in the greenhouse but did not have such vigorous growth even though the autumn plantings had longer to establish. They can be grown in most types of soil but grow best in peat-free soil in a sunny position with well-draining soil and thrive best when regularly watered.
When the plants have reached 10cms, pinch out the tips to encourage stronger side shoots and a more bushy plant. I have found pinching out more than once on the same plant can produce really strong vigorous growth.
Advice on planting out varies. Some say after the last threat of frost has past others say it is okay to plant them out well before. I have planted out well before the frost risk with no ill effects as they are quite hardy plants.
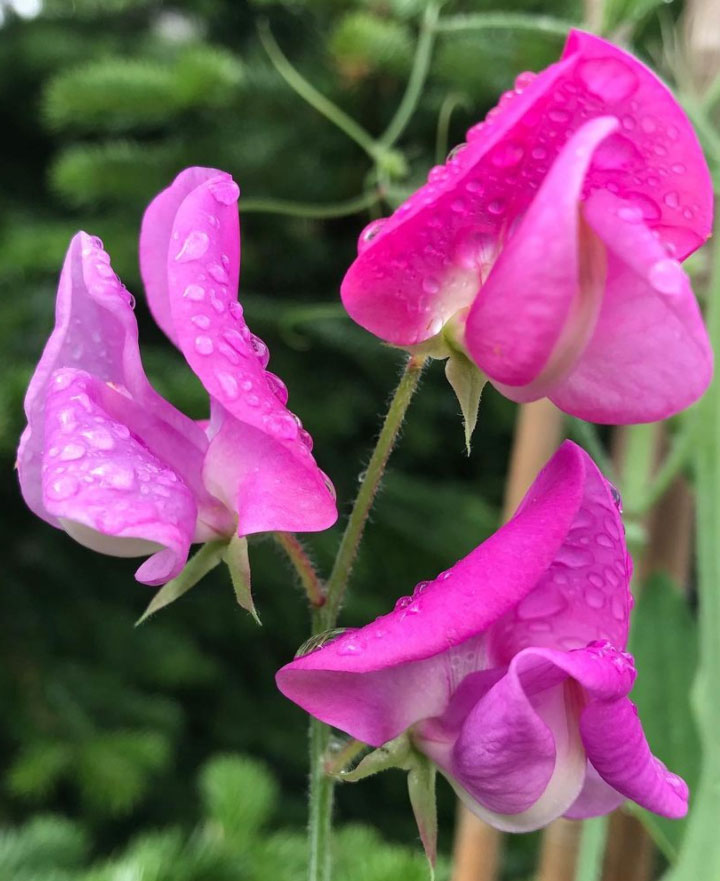
When using cane supports I found that tying strings at a very low level allows the plants to attach themselves and self-support before pushing skyward. Once the plants have overcome gravity they usually progress quickly clinging to canes and each other for support.
Sweet Peas on Patios
Here is the method I use for planting sweet peas in patio pots. I would recommend using terracotta rather than plastic as I will explain in a moment:
I use a multi-purpose compost enriched with well-rotted horse manure both available to buy prepacked. I bought both from Amazon to take out the problem of travelling and lifting and saving money.
Every time I visit a garden centre I spend twice as much as intended. Like the moths in the Pixar Film –I can’t help myself!
I would recommend a terracotta pot as I found plastic pots (unless really thick or reinforced) can split with the tension of the canes pushing out against the sides. The one demonstrated below is a 37cms diameter terracotta bell pot which would be the minimum size I would recommend. Again you can get these from most garden centres or online but shop around as prices vary considerably.
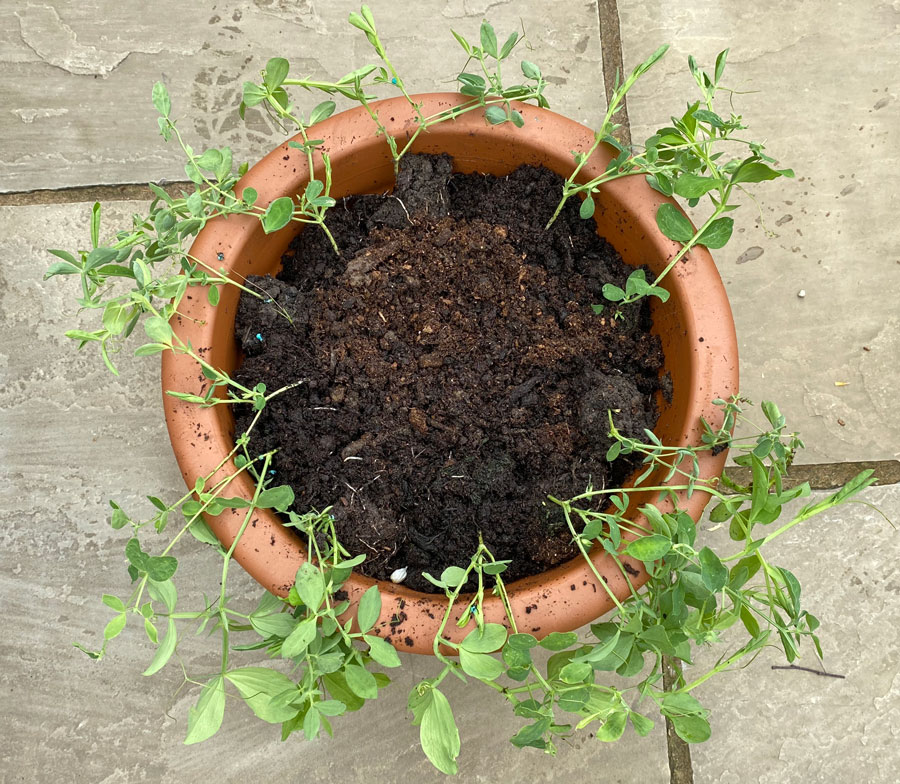
Fill the pot to within a few inches of the top and place your sweet pea plants closely bunched around the edge. I generally comply with what it says on the seed packed in regard to spacing but in the case of sweet peas work from experience. Cramming them around the perimeter works for me!
Once in position gently backfill with compost until the desired level is reached and firm down. It is important not to water the plants yet.
For this size pot I used 5 x 5′ canes but 6′ or 7′ would have been okay. Push the canes down firmly into the compost in a rough circle, clear of the plant roots, and firm down around each one, backfilling as necessary making sure that each cane rests at the same height above the pot.
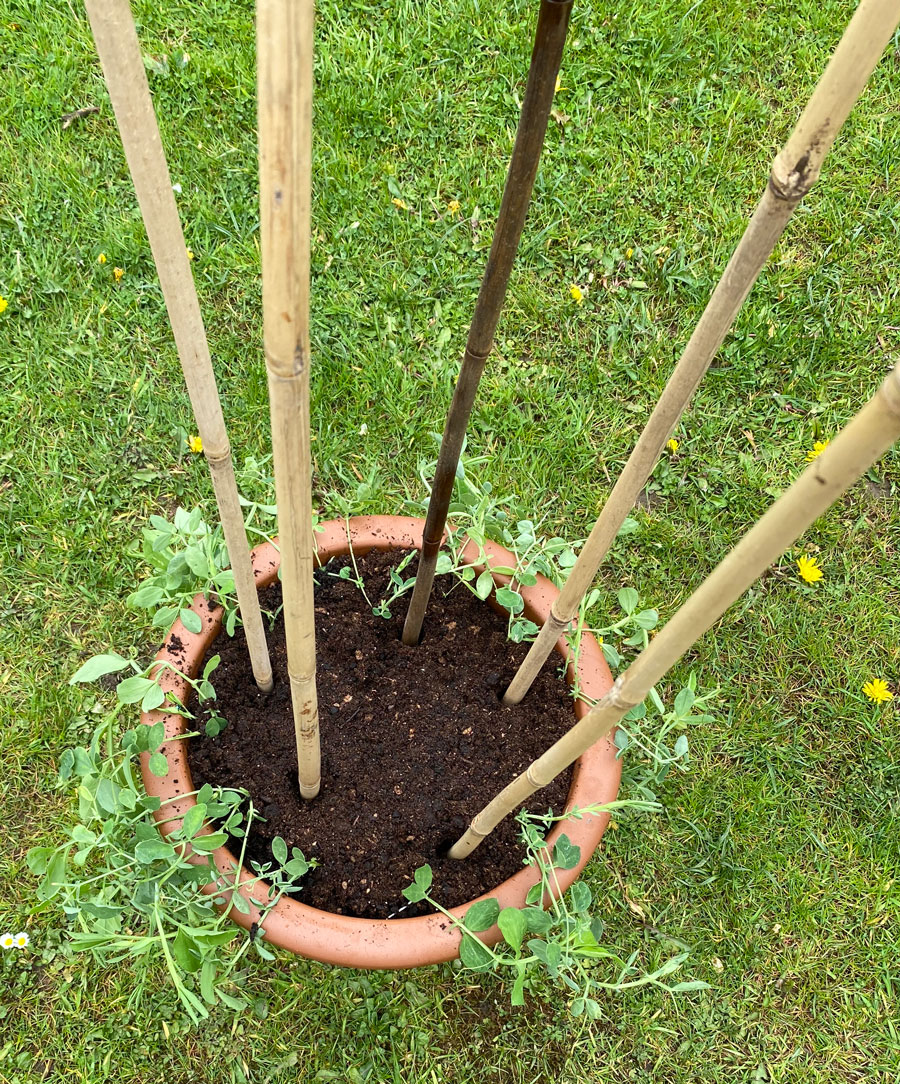
Using strong gardening twine tie a secure knot (clove hitch is ideal if you know how) around one cane a few inches from the top then draw in each cane making sure you loop around each, before tieing off securely to make a rock solid wigwam frame.
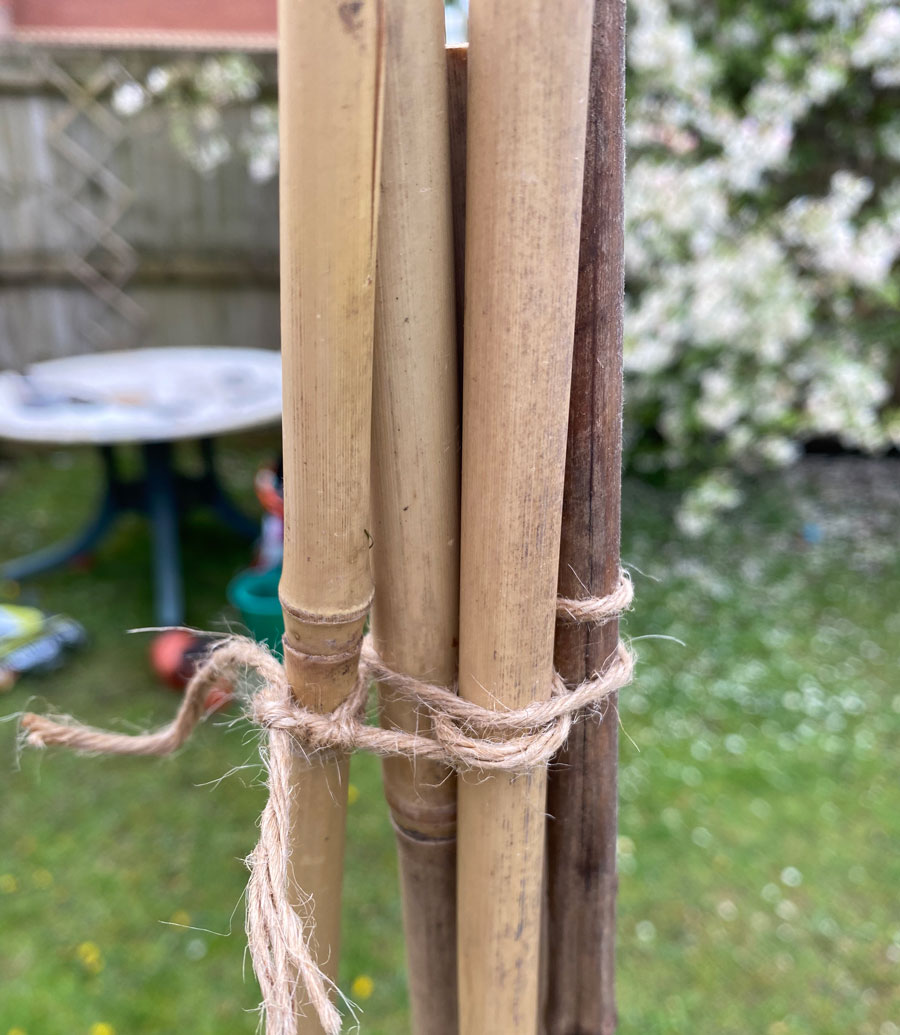
The tightly packed sweet peas will not all be able to reach the canes so I use the twine at a low level in a circle around the canes. This will allow the small plants to grip with their tendrils, establish themselves and allowing them to progress upwards.
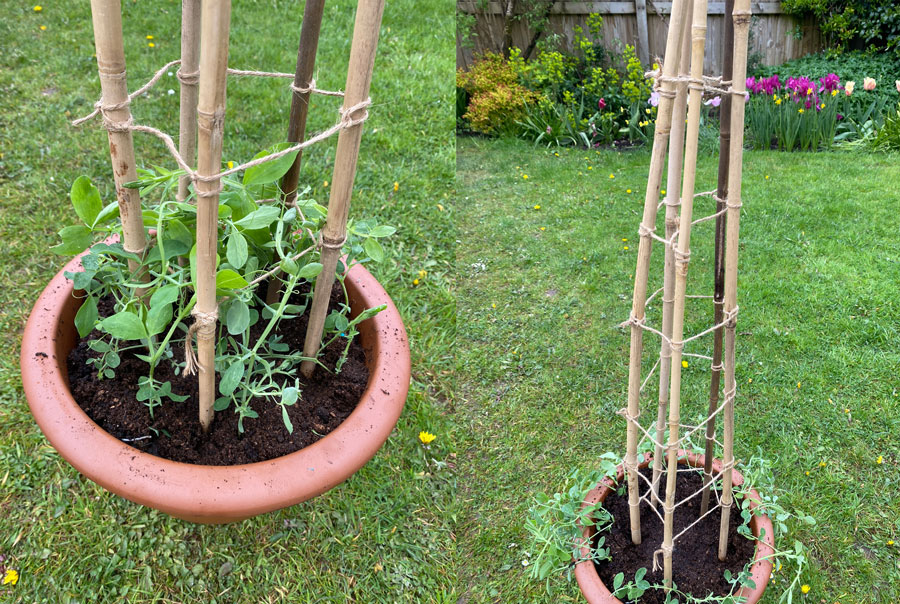
Continue with more layers of twine to form a ‘web’ that they can cling to. Sweet peas, once they start to travel upwards, will also ling to each other, but the solid frame of canes and twines will give them a solid platform and keep a good shape in the growing plants.
Once the canes and twine are all secure gently push the plants into the centre of the pot. It may look a mess to start with but after a couple of days the tendrils will do their work and the plants will start climbing.
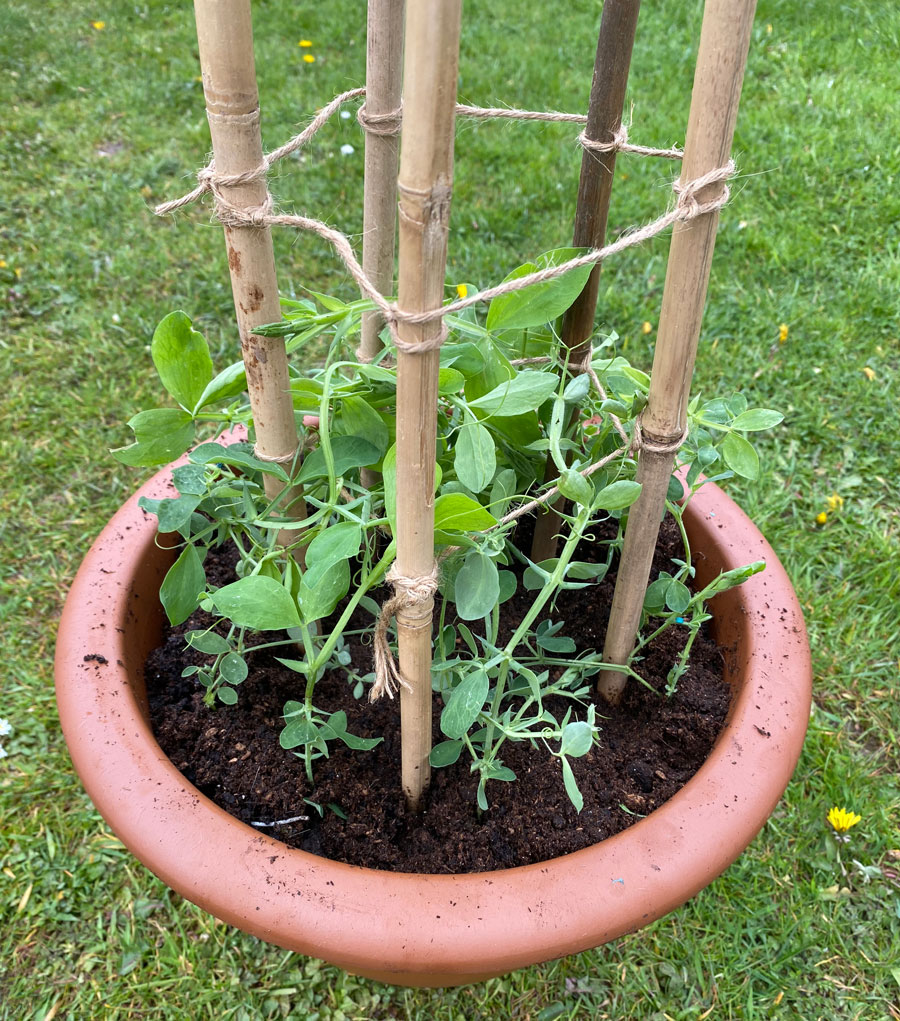
Last but not least give the compost a really good watering. This does two things – ensures the plants are well hydrated and swells the compost anchoring the canes in their correct position. Place the pot in a sunny position and keep watering as necessary.
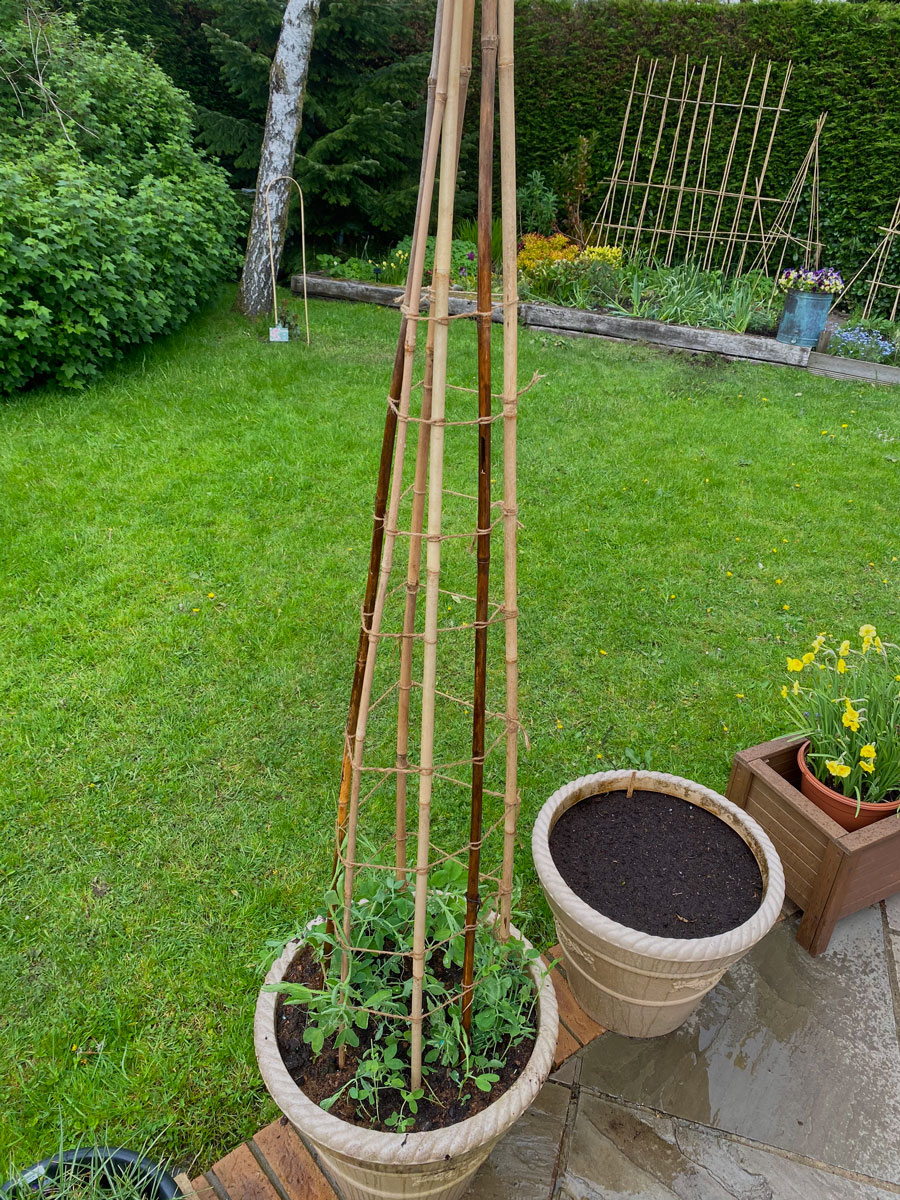
Just as the first flower buds appear I use a tomato liquid fertilizer to give the plants and flowers a boost. Constant deadheading will give you a constant supply of flowers for months well into the autumn.
Creating a larger sweet pea row frame in the garden
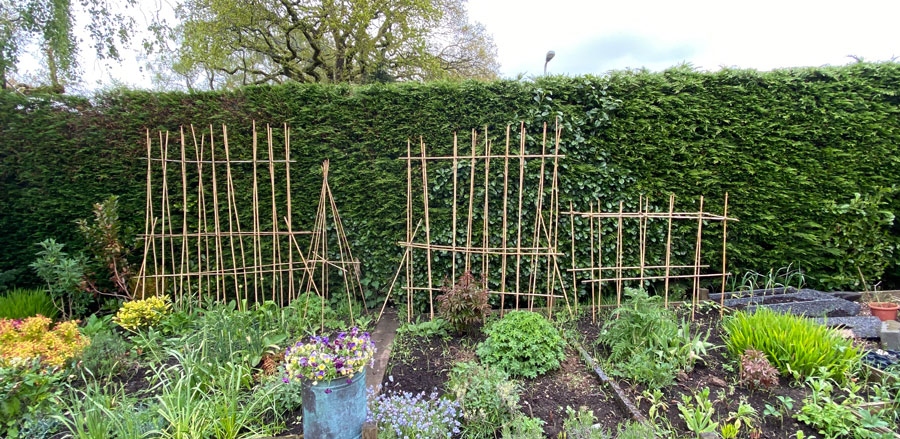 The principle is the same but here I tend to use much longer canes usually 8′-9′. Push the canes into the soil in pairs around 2′ apart between opposite pairs and space pairs approx. a foot apart. Tie off each pair at the apex and place a single cane along the top and secure at each pair junction.
I weave canes along the full length to bind everything together. By weaving the horizontal canes they are held in place while you tie them off.
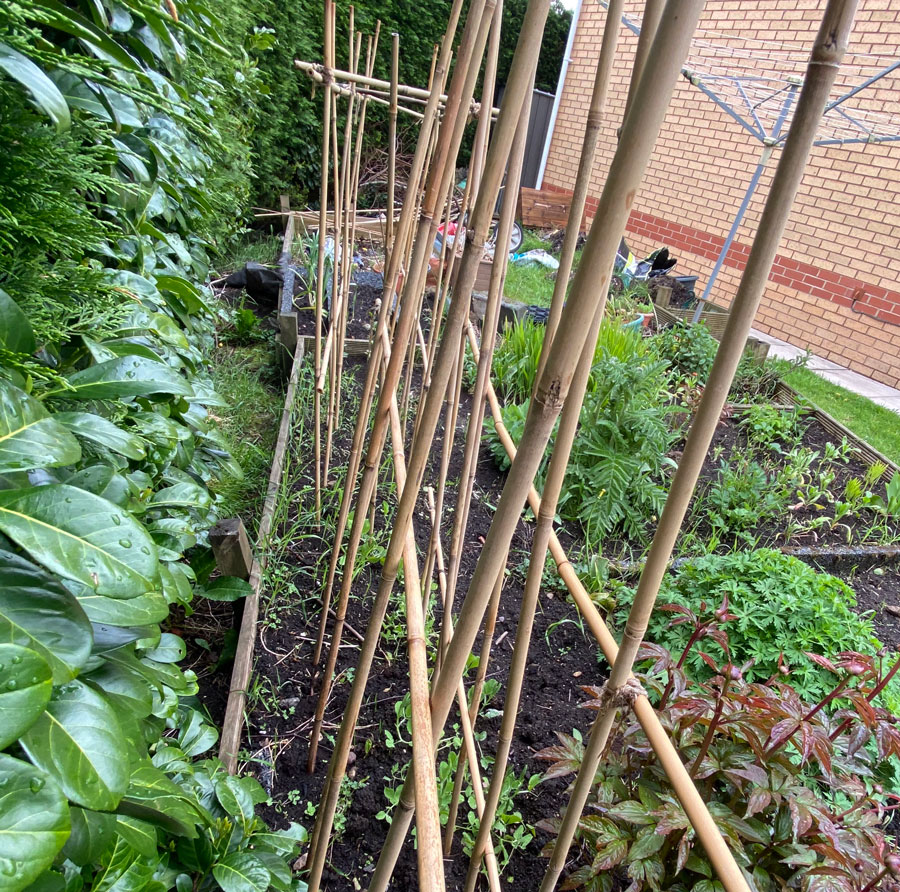
After all the tying off is complete you are ready to plant and again I cram them in with a plant directly next to the cane and one or two in-between. Use the garden twine at a low level and progress upward to build a web for the tendrils to cling to.
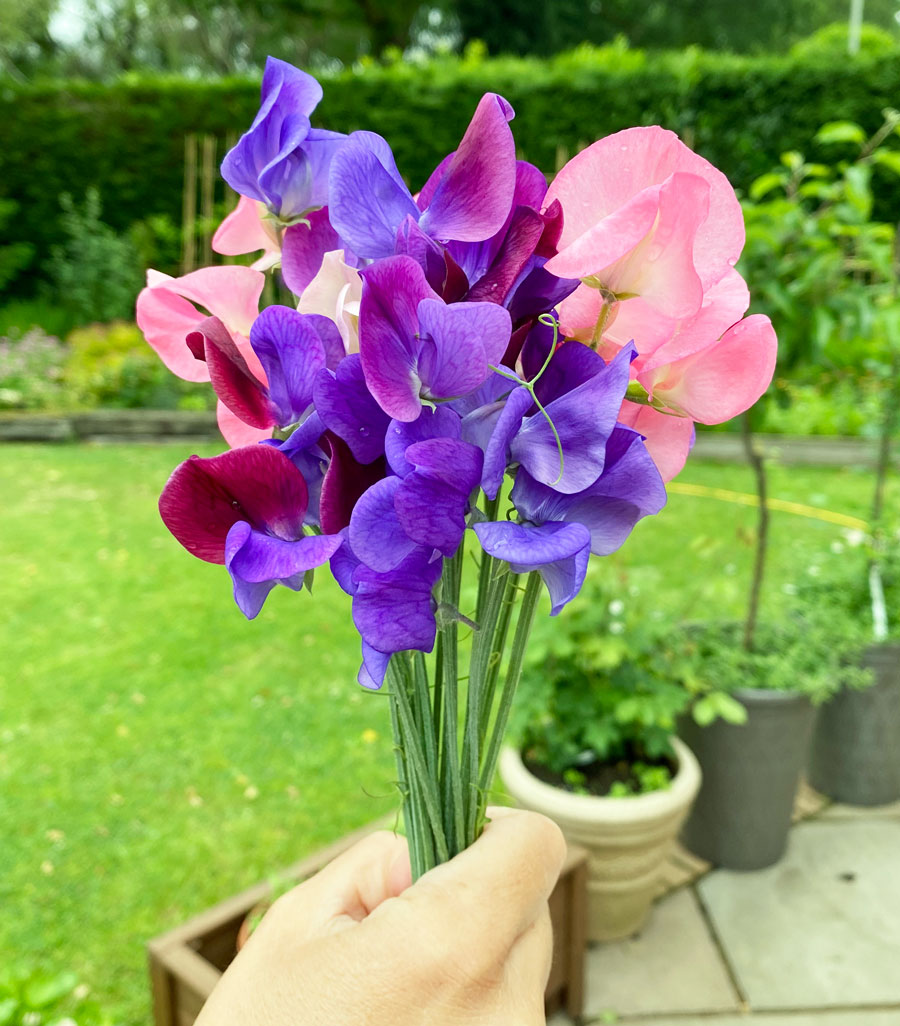
The same applies with watering and feeding – water often and a tomato liquid feed will be of great benefit when the first flower buds are showing. Deadhead constantly and you will have a magnificent backdrop of colour. Here is the same prepared pot a few weeks later…
